There’s something undeniably captivating about hawks—those fierce predators of the sky. If you’ve ever tried to draw one, you know it’s not as easy as it looks. Hawk drawing requires patience, precision, and a deep understanding of the bird’s anatomy and personality. Whether you’re a beginner or an experienced artist, mastering this skill can take your artwork to new heights—literally!
Drawing hawks is more than just sketching feathers and beaks. It’s about bringing life to your art, capturing the intensity of their piercing gaze, and showcasing their power. This guide will walk you through everything you need to know to create stunning hawk drawings that leave viewers in awe.
From basic techniques to advanced tips, we’ve got you covered. So grab your pencils, erasers, and sketchbooks because we’re diving headfirst into the world of hawk drawing. And don’t worry if your first attempts aren’t perfect—every great artist started somewhere!
Read also:Kyla Kane The Rising Star You Need To Know About
Why Hawk Drawing Appeals to Artists
Hawks are symbols of strength, freedom, and focus. For many artists, drawing these majestic creatures is a way to express admiration for nature’s perfection. Their sharp talons, hooked beaks, and piercing eyes make them visually striking subjects. Plus, they’re incredibly versatile—you can draw them soaring through the sky, perched on a branch, or even in mid-hunt. Each pose offers unique challenges and opportunities for creativity.
Understanding Hawk Anatomy
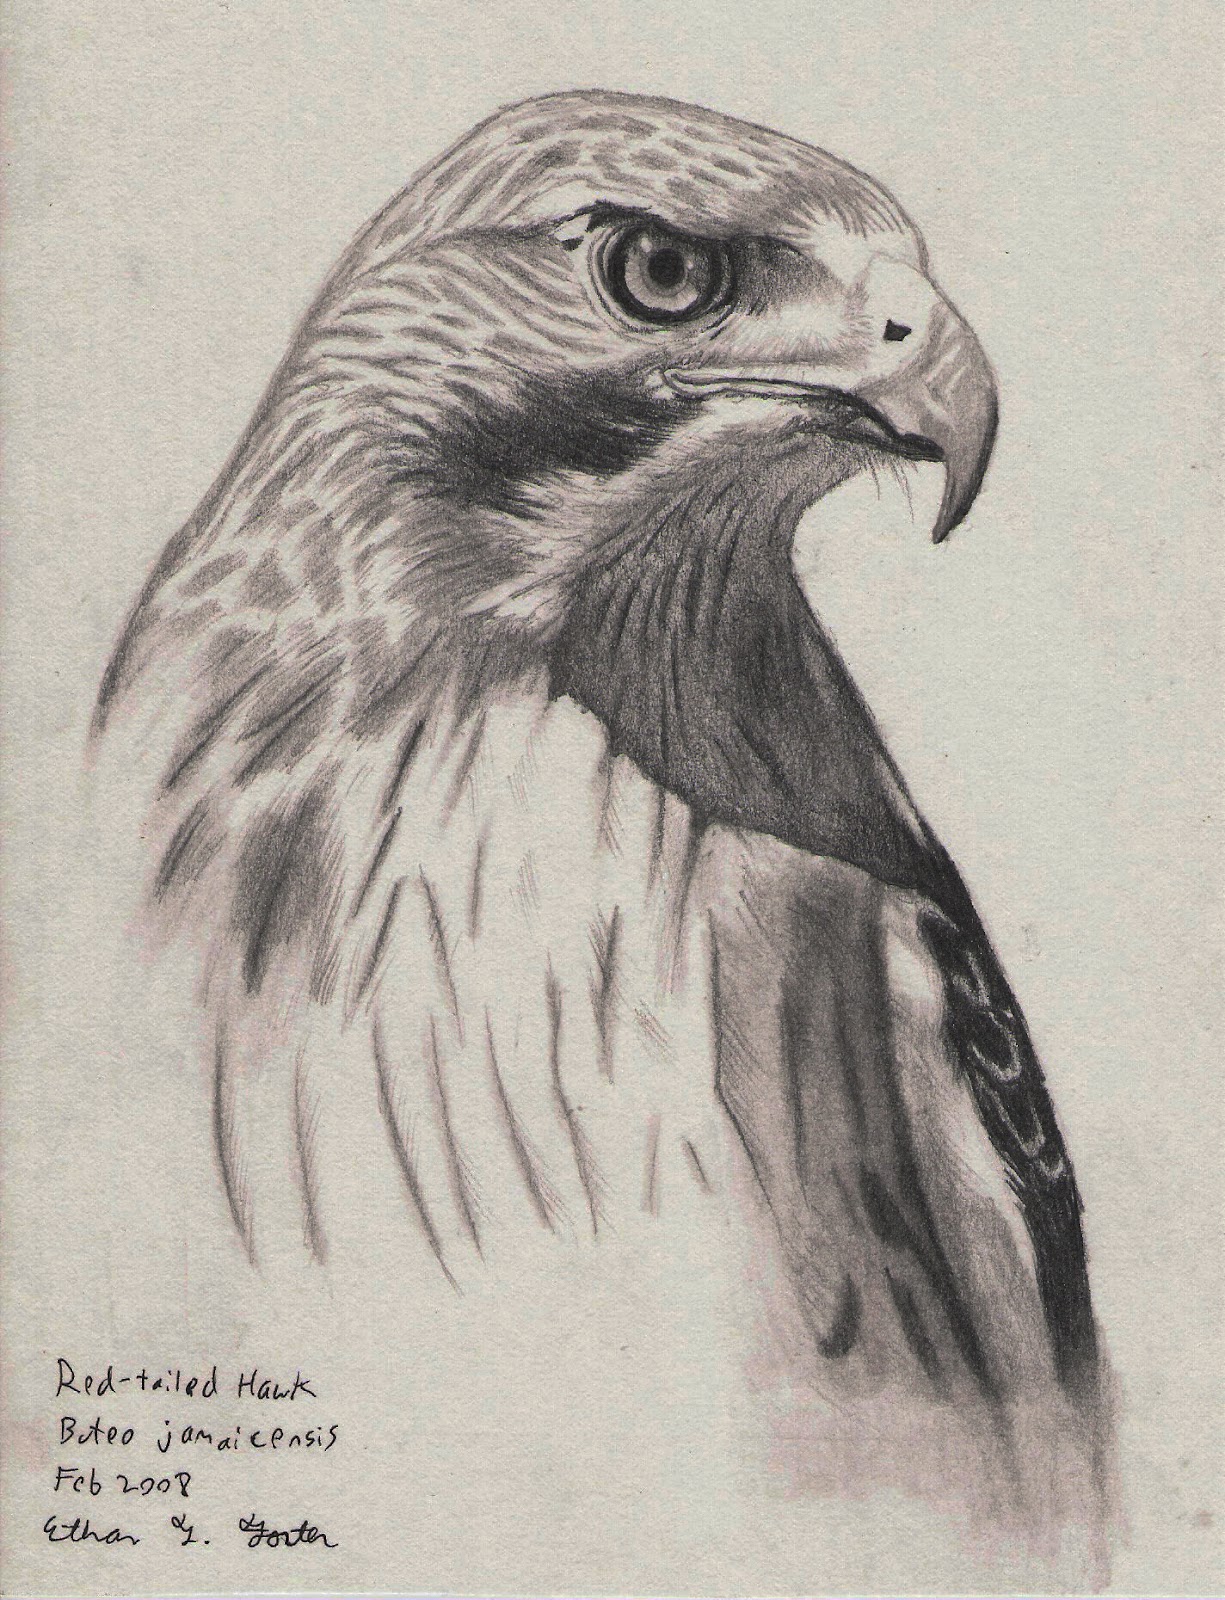
Before you put pencil to paper, it’s crucial to understand what makes a hawk… well, a hawk. Knowing their anatomy helps you create realistic proportions and details. Here are some key features to focus on:
- Feathers: Hawks have layers of feathers that create intricate patterns. Pay attention to how they overlap and flow.
- Eyes: Those intense yellow or orange eyes are what give hawks their signature look. Study how light reflects off them to add depth.
- Beak: The curved, sharp beak is a defining feature. Get the angle and shape just right to make your hawk look authentic.
- Wings: Hawks have long, broad wings designed for soaring. Practice drawing different wing positions to master flight dynamics.
Take a moment to study photos or videos of real hawks. Observing how their bodies move and how their features interact can elevate your drawings significantly.
Essential Tools for Hawk Drawing
Having the right tools can make all the difference in your artistic journey. Here’s a list of essentials to get you started:
- Pencils (HB, 2B, 4B, 6B)
- Eraser (kneaded and standard)
- Sketchbook or drawing paper
- Blending tools (tortillons or blending stumps)
- Reference images (photos or videos of hawks)
Don’t feel pressured to buy expensive materials right away. Start with what you have and upgrade as you progress. The most important tool is your passion and willingness to practice.
Choosing the Right Paper
Not all paper is created equal when it comes to drawing. Look for paper with a smooth texture that can handle shading without tearing. Bristol board or heavy-duty drawing paper are excellent choices for detailed work like hawk drawings.
Read also:Alexia Grace Leaked The Untold Story Behind The Viral Sensation
Basic Techniques for Beginners
If you’re new to drawing hawks, start with the basics. Focus on building a solid foundation before moving on to more complex techniques. Here are some steps to guide you:
Step 1: Begin with a rough outline. Use light, loose strokes to map out the hawk’s general shape. Think of this as your blueprint.
Step 2: Add basic features like the head, beak, and wings. Keep proportions in mind—hawks have large wingspans compared to their bodies.
Step 3: Refine your sketch. Once you’re happy with the overall structure, go over your lines more carefully. Erase any unnecessary guidelines.
Step 4: Start adding details. This is where the fun begins! Focus on feathers, eyes, and other defining characteristics.
Shading Tips for Realism
Shading is what brings your hawk to life. Use cross-hatching, stippling, or blending techniques to create depth and dimension. Remember:
- Light areas should be left white or lightly shaded.
- Dark areas, like shadows under wings, require heavier shading.
- Transitions between light and dark should be smooth and gradual.
Advanced Techniques for Experienced Artists
Once you’ve mastered the basics, it’s time to level up your skills. Advanced techniques involve paying attention to finer details and experimenting with different styles. Here are a few ideas:
1. Adding Texture to Feathers
Feathers are one of the most challenging parts of hawk drawing. To make them look realistic, study how they layer and overlap. Use short, deliberate strokes to mimic individual feathers. Don’t forget to vary the pressure of your pencil to create softness and volume.
2. Capturing Movement
Static drawings are great, but capturing a hawk in motion takes your art to the next level. Practice drawing hawks in flight, diving for prey, or flapping their wings. Study reference images to understand how their bodies change during movement.
3. Experimenting with Color
While black-and-white drawings are classic, adding color can make your hawks truly pop. Use colored pencils, watercolors, or digital tools to bring out their natural hues. Remember to stick to realistic colors unless you’re going for a creative interpretation.
Common Mistakes to Avoid in Hawk Drawing
Even the best artists make mistakes sometimes. Here are a few pitfalls to watch out for:
- Proportion Issues: Hawks have distinct body proportions. Make sure your wings aren’t too small or your head too large.
- Over-detailing: While details are important, too much can overwhelm your drawing. Balance is key.
- Ignoring Light Sources: Always consider where the light is coming from when shading. Consistency is crucial for realism.
Remember, practice makes perfect. Don’t be discouraged by mistakes—learn from them and keep improving.
How to Fix Mistakes Without Starting Over
No one likes starting a drawing from scratch. Luckily, there are ways to fix common errors:
- Use a kneaded eraser to gently lift unwanted pencil marks.
- Redraw problem areas lightly before committing to darker lines.
- Blend shading mistakes using a tortillon or your finger.
Inspiration from Professional Artists
Looking at the work of professional artists can provide valuable insights and inspiration. Study how they approach hawk drawing and incorporate their techniques into your own style. Some notable artists to check out include:
- John James Audubon
- David Shepherd
- Robert Bateman
Each of these artists brings something unique to the table, whether it’s attention to detail, vibrant colors, or emotional expression.
Building Your Own Style
While it’s great to learn from others, don’t forget to develop your own artistic voice. Experiment with different mediums, styles, and subjects until you find what resonates with you. Your personal touch is what will make your hawk drawings stand out.
Resources for Learning More About Hawk Drawing
If you’re eager to deepen your knowledge, there are plenty of resources available:
- Online tutorials on platforms like YouTube and Skillshare.
- Books on animal anatomy and drawing techniques.
- Art communities where you can share your work and receive feedback.
Remember, the more you learn, the better your skills will become. Stay curious and open to new ideas.
Recommended Books for Hawk Drawing
Here are a few books that can help you master hawk drawing:
- How to Draw Animals by Jack Hamm
- The Art of Drawing Birds by Raymond Sheppard
- Animal Drawing: Anatomy and Action for Artists by Charles Knight
Conclusion: Take Flight with Your Hawk Drawing Skills
By now, you should have a solid understanding of what it takes to create stunning hawk drawings. From anatomy and techniques to inspiration and resources, this guide has equipped you with everything you need to succeed. Remember, practice is the key to improvement, so keep pushing yourself to try new things.
So, what are you waiting for? Grab your tools and start drawing! And don’t forget to share your creations with the world. Who knows—your artwork might inspire someone else to take up hawk drawing too. Happy sketching!
Table of Contents